Tag: basic

Basic dough recipe for pizza – Italian Cuisine

the basic pasta for the Sale & Pepe pizza


?>

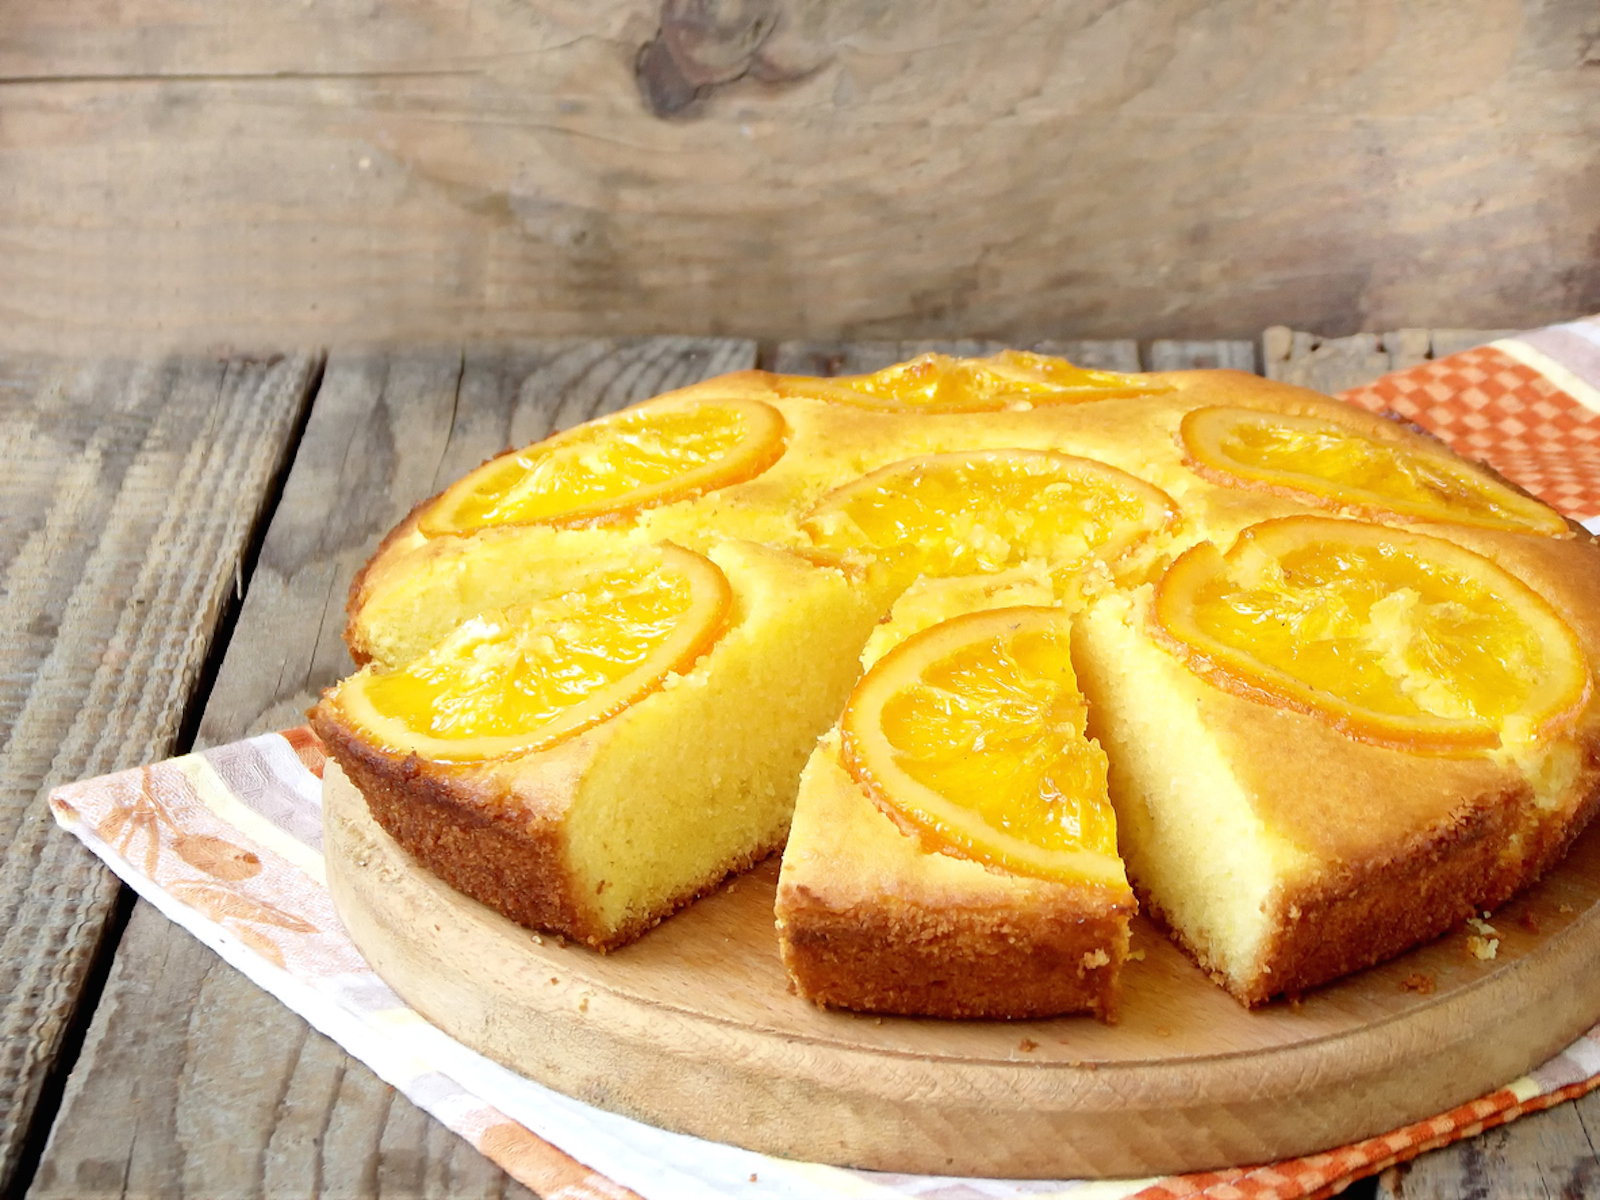
There basic dough for pizza is a leavened dough made of flour, water, brewer's yeast, oil and salt, essential for preparing at home not only the classic thin pizza mozzarella-anchovy or to the Roman but also trousers, Small pizzas, panzerotti , pizzelle is buns of all types.

There basic dough for pizza it's a Salt & Pepper recipe easy to prepare even without a mixer; the result is a soft and sticky dough that, once leavened, is easy to spread and, when cooked, becomes crunchy, tasty, fragrant and well blended. If you are a patient person and you have experience in the kitchen, you can try to reduce the amount of yeast and increase the leavening time to obtain a dough with the same characteristics listed above but with less yeast.

Preparing a good dough for pizza, even if it seems so simple, is an art! There are many factors that influence its success: from the choice of flour to the temperature of the mixing water or that of your kitchen. But, the basic dough for pizza it's a recipe of Salt and pepper well tested to bring 2 Neapolitan pizzas or a large focaccia in the pan in just 4 hours. So, are you ready to knead? Wear the apron today basic dough for pizza we knead it together!

Step by Step

    • 1
      the basic pasta for the Sale & Pepe pizza
    • How to prepare the basic pizza dough

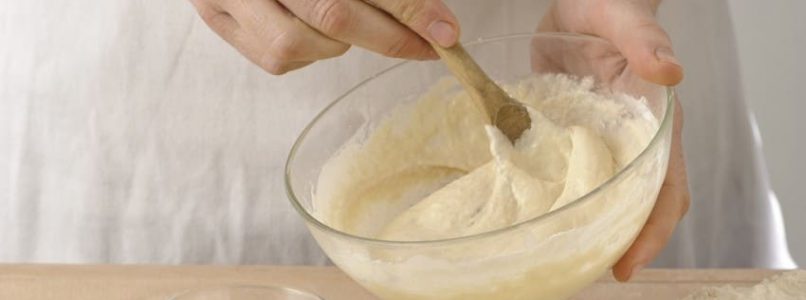
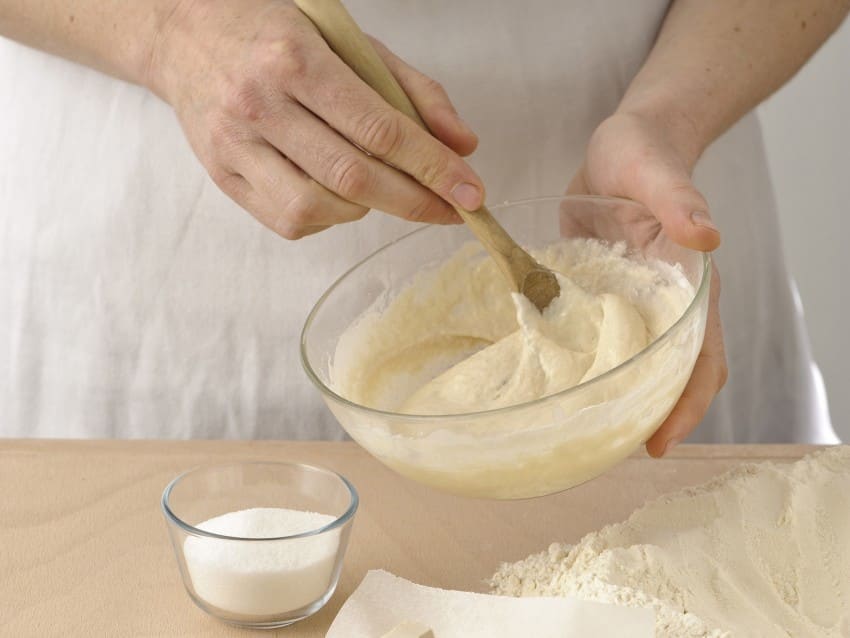
      1) To prepare the basic dough for pizza put the brewer's yeast chopped in a bowl, pour over a small glass of warm water and dissolve it, stirring with a wooden spoon; add it sugar and 1 handful of flour and mix, mix vigorously, until you get a soft, smooth and homogeneous batter; cover the bowl with a cloth and let it rise in a warm place for about 30 minutes.

    • 2
      the basic pasta for the pizza Salt & Pepe recipe
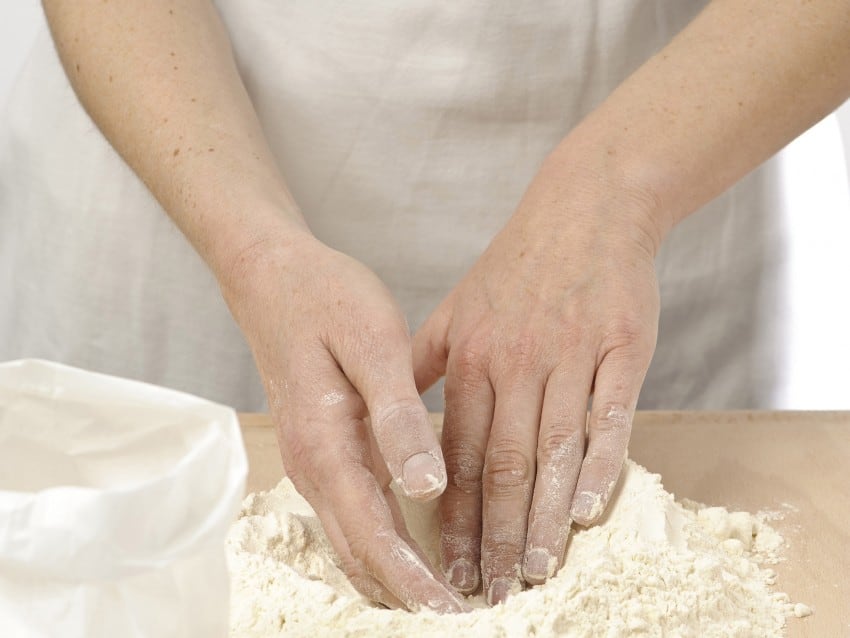
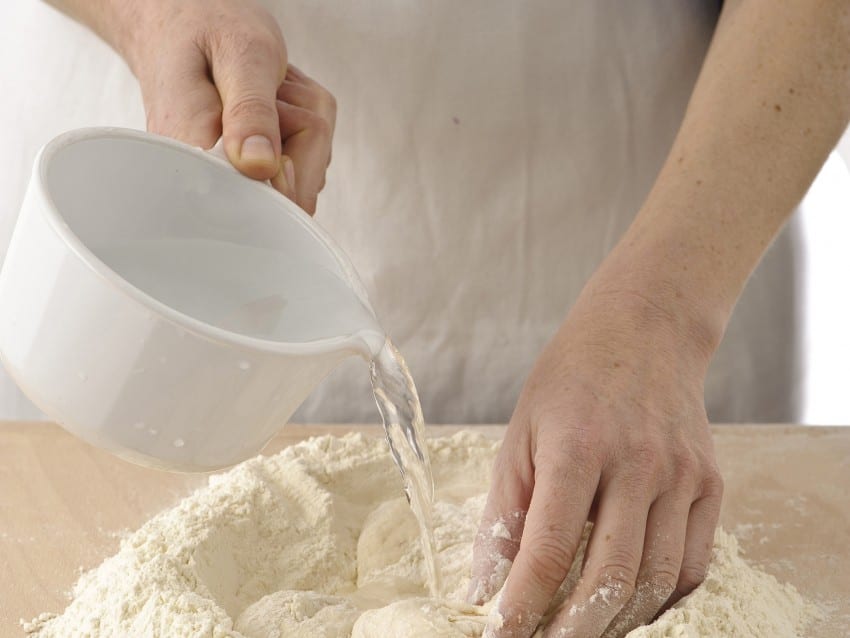
    • 2) Collect the rest flour on the pastry board and widen it in the center to form a fountain.

    • 3
      the basic pasta for the pizza Sale & Pepe foto
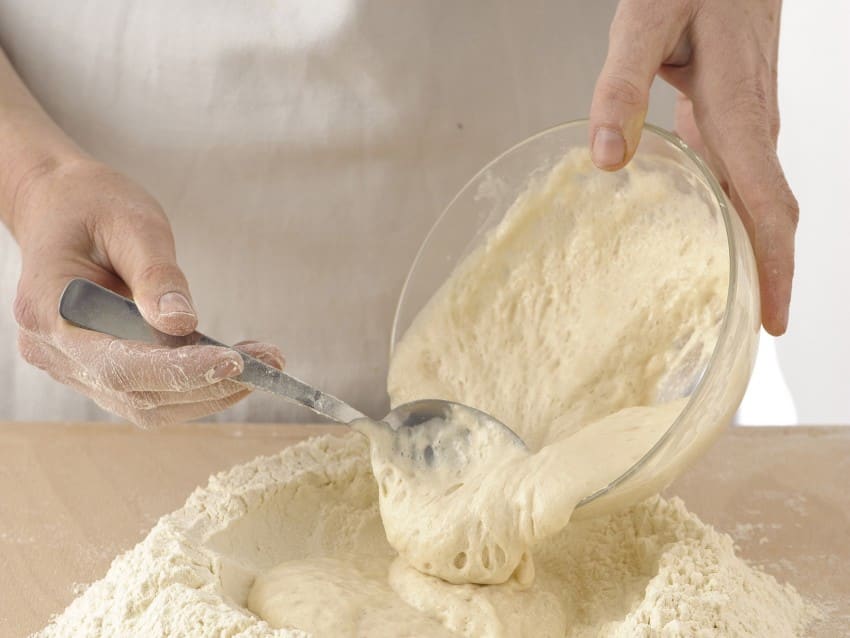
    • 3) Transfer the leavened dough to the center of the fountain and distribute all around on the flour the salt, so that it is not in direct contact with the yeast.

    • 4
      the basic pasta for the pizza Salt & Pepe image
    • 4) Add theextra virgin olive oil, gradually pour about 200 ml of warm water and in the meantime begin to knead with your fingers, gradually bringing the flour inside to form the basic dough for pizza.

    • 5
      the basic pasta for the pizza Salt & Pepper preparation
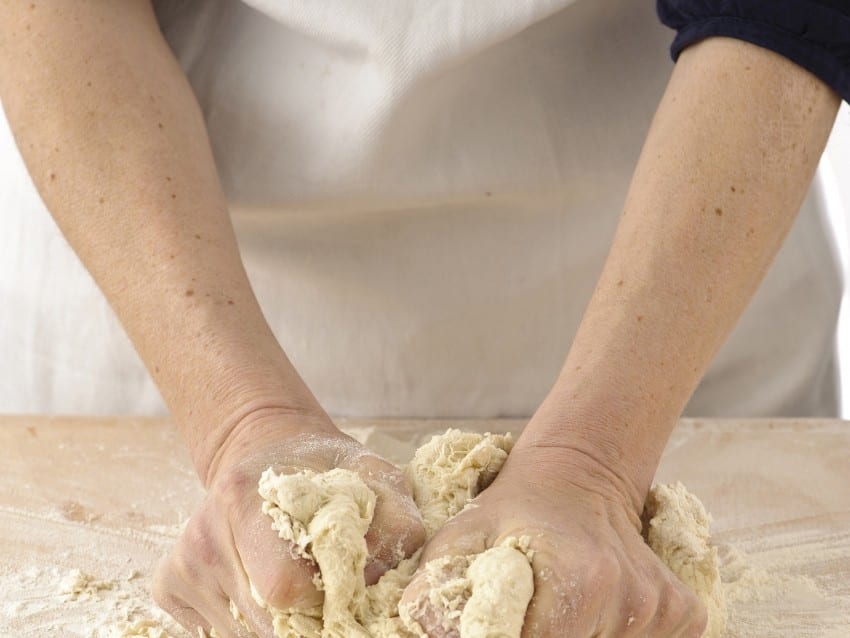
    • 5) When it is completely mixed, collect the dough e lavoralo energetically with plenty of hands for about 15 minutes; collect with a spatula also the part remaining adherent to the pastry board: if the dough is too hard, soften it again with 1-2 tablespoons of warm water, if too soft, sprinkle with a little flour. In the end you will have to get 1 compact but malleable paste.

    • 6
      the basic pasta for the Sale & Pepe pizza step
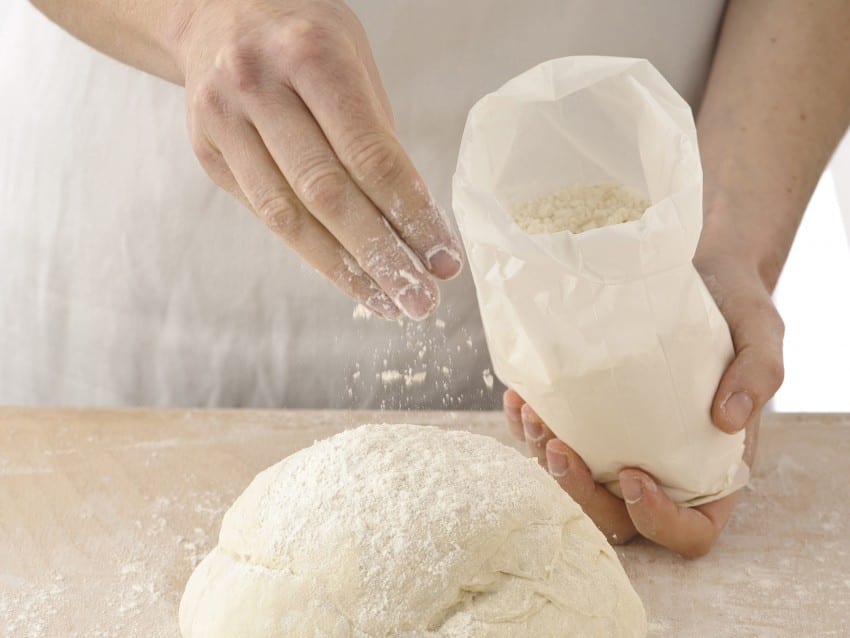
    • 6) Form a ball with the dough and lightly flour it.

    • 7
      recipe the basic pasta for the Sale & Pepe pizza
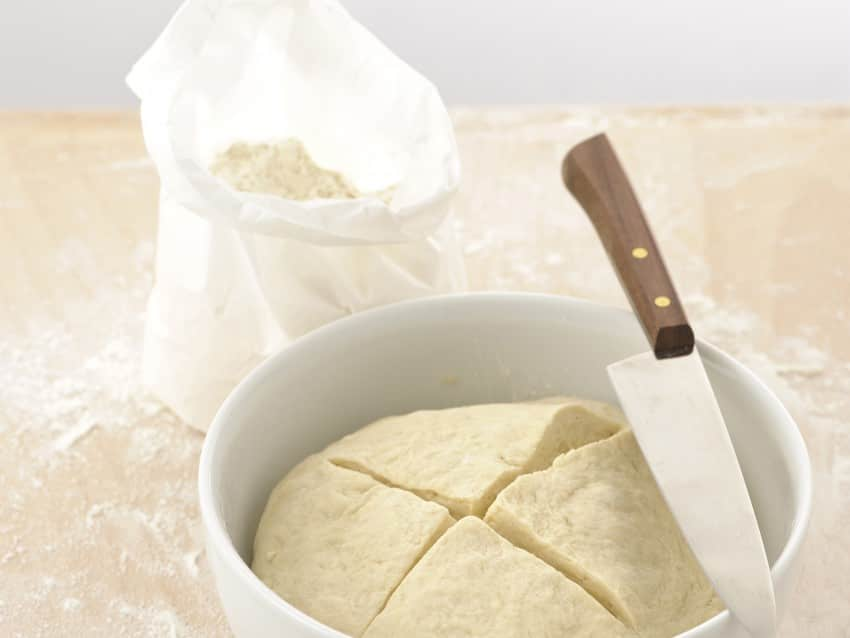
    • 7) Transfer the pasta into a large, lightly floured and practical bowl on the surface, with a knife or kitchen scissors, a cross cut.

    • 8
      foto the basic pasta for the Sale & Pepe pizza
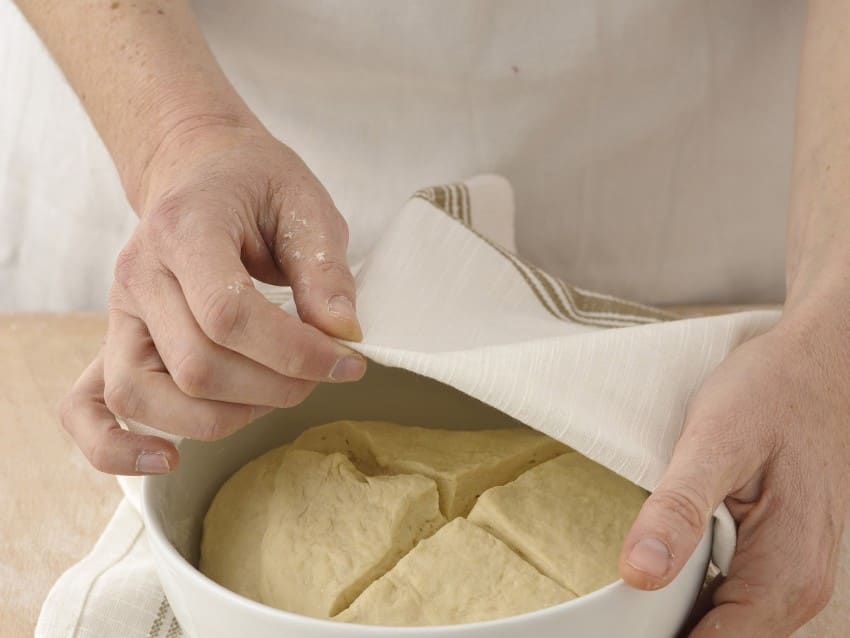
    • 8) Cover the pasta with a damp cloth and leave it bump up in a warm place from 2 to 3 hours.

    • 9
      immagine the basic pasta for the Sale & Pepe pizza
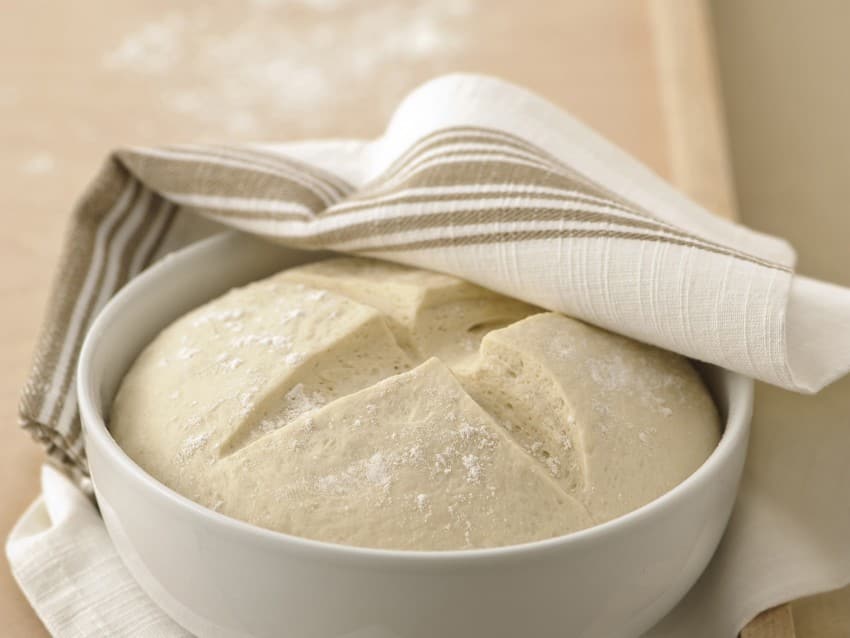
    • 9) Completed the leavening the basic dough for pizza it will have doubled its volume and will be ready for use.

Share
recipe


5 basic rules for preparing a good cocktail at home – Italian Cuisine

5 basic rules for preparing a good cocktail at home


From the essential tools to the choice of ingredients: the bartender Carlo Simbula gives us some advice to take the first steps into the world of drinks

In the event of hunger or a sudden craving for something good, we all have the basics needed to cook at least one pasta dish at home. And if instead our wish was that of a good cocktail, to sip as an aperitif, or as a special after dinner with music in the background? We probably wouldn't be as ready, and we would risk it combine some mess also struggling with a very simple Spritz. Or a more than basic Gin Tonic. «This is because for many of us the drink is still tied exclusively to the world of bars, pubs and discos. And therefore the attention to the simplest passages also fails. But learning, little by little, is absolutely possible, in fact I would say funny . Who speaks, from the back of the elegant counter of the The Spirit of Milan, is the bartender Carlo Simbula, who, armed with a shaker and lots and lots of patience, decided to help us start our domestic journey into the world of cocktails on the right foot. Starting from these 5 basic tips.

The quality of the ingredients

As in the kitchen, when we prepare a roast or a savory pie with mushrooms, even when we are struggling with a drink, we must pay close attention to the ingredients we use. Starting from a quality distillate, be it vodka or rum, is absolutely essential. But be careful not to underestimate the non-alcoholic components of the recipe: a good tonic water, a good ginger beer and even a fresh mint leaf can radically change the final result of our creation.

Photo: Stefano Pesce

The importance of ice

Most of the cocktails we can prepare at home include a generous presence of ice in the glass. Which inevitably goes to melt little by little inside the drink, while we sip it. So it's better not to skimp on the quality of this ingredient: let's prepare it with natural water, maybe boiled first in the pot to remove the coarser impurities. Of course, obtaining a clear and transparent ice like that of the best bars without professional equipment can be very complicated, but obtaining a few well-made cubes at home is also possible.

A small set of tools

Like any self-respecting art, mixology also requires its dedicated tools. To start with, in particular, we recommend two: the shaker, or the sort of reclosable container that allows you to mix with energy – or shake, precisely – the various ingredients before pouring them into the glass; and the jigger, the special measuring cup that allows to keep under control the quantities of alcohol and tonic in addition. Because going to the eye, as they say, can, but it is better to wait until you have accumulated some experience.

Photo: Cristian Castelnuovo

A glass for each cocktail

Sifting through the recipes of the various drinks it is sometimes possible to find a direct reference to the glass to be used for the presentation. This is because – as also happens with wines – shapes, depths and amplitude can enhance or diminish the aromatic and gustatory characteristics of what we are about to sip. In general, however, the advice remains that of not mortifying what we have prepared: no categorical to plastic cups, therefore, and a great yes to a beautiful and functional glass.

Step by step, starting from simple recipes

Just as it is not possible to think of starting your own experience in the kitchen with a Saint Honoré, similarly for cocktails it is better to start with some simple recipe. At least for the first time, therefore, let's forget about drinks based on siphoned or acidic powder ingredients to add to the preparation. Let's focus instead on the various Negroni, Americano and so on: little by little the necessary experience will accumulate to move to more elaborate alternatives. And, why not, to even begin to create something original, launching your creativity with shaker strokes.

the basic recipe and many other ideas – Italian Cuisine

the basic recipe and many other ideas


Simple, with almond flour, carrots, yogurt, delicious or vegan. How do you prefer the orange cake?

There Orange cake is the ideal cake for the Breakfast of the whole family, but if enriched and decorated with care can also turn into a delicious dessert to be served after a meal.
Preparing it is really very easy because the base is that of a simple cake to snack, but they exist many variations that can make this cake more or less soft, more or less wet, more or less caloric.
We can remove the eggs, use different flours, replace the butter with oil and add the yogurt or ricotta in the dough.
In short, this is really one versatile recipe!

The classic recipe of orange cake

First of all, grate the peel of two oranges not treated avoiding reaching the white part.
Take it too 180 g of juice filter it if necessary.
Separately mounted three whole eggs with 150 g of sugar and then add 80 g of soft butter, 270 g of 00 flour sifted with a sachet of yeast and then the peel and orange juice.
Mix with one hand whisk or inside a planetary and then pour the mixture into a buttered and floured cake tin or lined with parchment paper.
Cook the cake at 180 ° for about 35 minutes. Take the toothpick test to check the cooking.
Once cold sprinkle with icing sugar.

With almond flour

You can make the same cake using a part of almond flour.
The proportion is 200 g of 00 flour and 70-80 of almond flour.
The cake will be more moist and tasty.

With carrots

The cake orange and carrots It is perfect for children because it is good and healthy, rich in vitamins and fruit.
To prepare it, just add it to the mixture two grated and well-squeezed carrots to eliminate excess water.
Also in this case you will get a more moist consistency and a sweeter taste.
Very greedy children? Some chocolate drop and you will make them happy.

With yogurt

If you want to prepare a really easy cake, the ideal recipe is always that of the Cake 7 Jars that can be adapted by adding many ingredients, such as orange, for example.
125g yogurt jars are used as measuring cups: just beat three eggs with a jar of citrus yoghurt and two of sugar and mix everything with three jars of flour, half seed oil and a bag of yeast.
Then add to this mixture the juice and zest of an orange and cook a 180 ° for 30 minutes.
You can also make the same cake with ricotta using the 200-250 g basket as a dispenser. The proportions are always the same, but the dough will be more abundant.

With caramelized oranges

How to make a cake so simple? Just add some Caramellised Oranges.
You have two ways to do it.
You can caramelize the oranges cut into thin slices by baking them with sugar directly in the pan on the stove.
When they are caramelized, let them cool down a little and then pour the mixture over it to cook it all together in the oven.
Once the cake is ready, turn it on a serving plate so that the oranges will be on the surface.
The alternative is to prepare the oranges by caramelizing them with sugar and a little 'Grand Marnier and then arrange them on the cake at the end of cooking with their warm icing.

The greedy version

You can stuff the orange cake as you want because the taste is so delicate that it is fine with jams of all kinds, hazelnut cream, custard, cream and much more.
You can even turn it into a birthday cake cutting it in half and stuffing it with cream and fruit and covering everything with whipped cream.

Vegan version

To prepare the orange cake without milk, butter and eggs just sift 300 g of flour 1 with a packet of baking powder for vegan desserts and 150 g of finely chopped cane sugar.
Then add 200 ml of water, 200 ml of orange juice, 100 ml of seed oil and grated orange peel.
You can also scent the dessert with a little cinnamon powder and add some dried fruit grains in the dough.
Bake and cook at 180 degrees for 35 minutes.

Proudly powered by WordPress

By continuing to use the site, you agree to the use of cookies. Click here to read more information about data collection for ads personalisation

The cookie settings on this website are set to "allow cookies" to give you the best browsing experience possible. If you continue to use this website without changing your cookie settings or you click "Accept" below then you are consenting to this.

Read more about data collection for ads personalisation our in our Cookies Policy page

Close