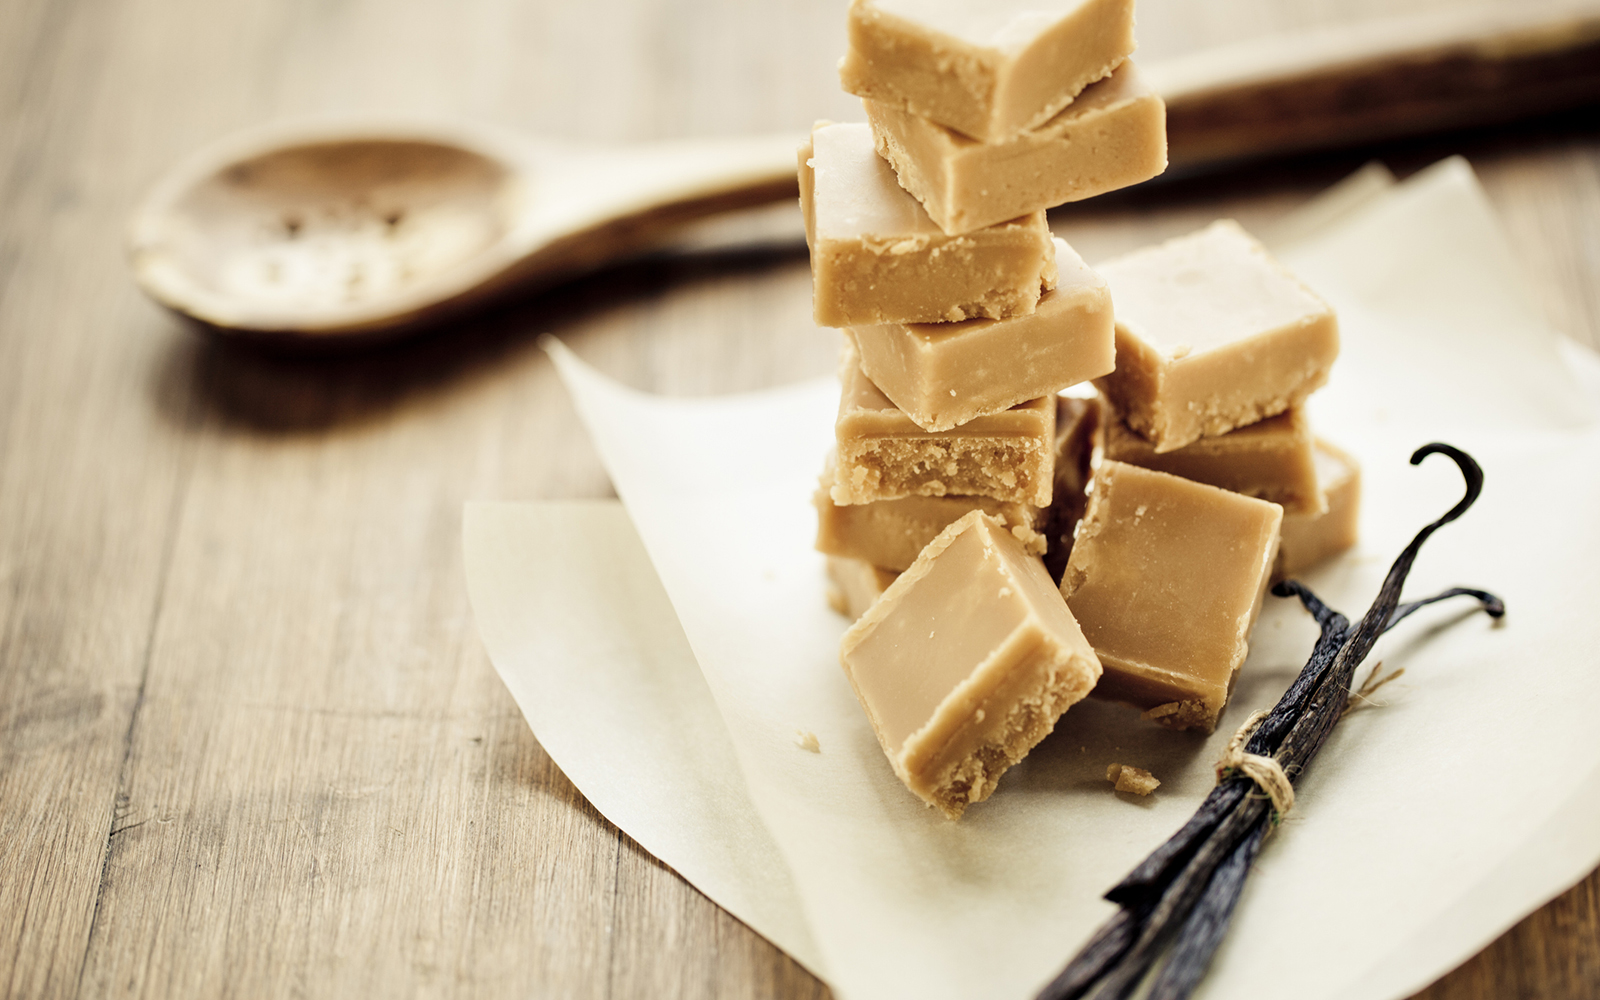
A quick and easy to prepare sweets at home: with just two ingredients, toffee is a must for everyone!
In England, where they invented them, they call them toffee, while for us they are the mou. It is about candies prepared with a base of sugar melted into a product that can be milk or liquid cream, to get then a caramel to which to give the most disparate forms. Ready to prepare them with us?
The recipe for toffee
Ingredients
1 liter of milk
1 kilo of sugar
aromas to taste
Method
Take a saucepan and pour the milk. Melt inside it, while it is still cold, sugar, stirring with a whisk. Then put the mixture on the fire and bring to a boil, continuing to mix. Then lower the heat and continue cooking until the mixture of milk and sugar darkens and takes the consistency of a jam.
Then pour the mixture on a marble surface, otherwise on a baking sheet that will have wet slightly. When it has cooled down enough (it must still be pasty though, not solid!), Cut it with a wet knife of the shape you prefer and let it solidify.
Flavor toffee
To vary and create toffee of different tastes, you can add to the milk and al sugar during cooking, for example, seeds of vanilla, extracted from the pod sectioned for long with a sharp knife. Or again coconut flour, cinnamon, ginger, cocoa, orange flavor. If you prefer instead to make the most crispy caramel mou, put in the mixture grains of hazelnuts you hate walnuts, pistachios, almonds or even, for alcoholic mou, a drop of rum. Another option is to sprinkle the sweets when they are still hot for example with del fleur de sal or simple coarse salt.
Molds for toffee
In the market you find different molds, usually made of silicone, with which to obtain the MOU candy, of different shapes and sizes. From traditional, to brick, to the more rounded ones, from ellipticals to fancy ones. If you do not have an ad hoc mold at home, do not worry, use a simple one rectangular pan and cut the dough with the knife as you prefer while it cools.
This recipe has already been read 242 times!