Tag: instructions

How to cook chestnuts at home: instructions and tips – Italian Cuisine

Pinterest


Baked, boiled, softened with milk or roasted? The scent of chestnuts is unmistakable


Pinterest


<! –

send by email

->

Autumn brings with it the chestnuts, one of the best and most versatile gifts of the forest there is! We think of chestnuts and the unmistakable scent of roasted chestnuts on the street comes to mind. A scent that tastes of autumn. In today's article we will teach you, step by step how to cook chestnuts to recreate that magical atmosphere at home.

So, whether you are organizing a nice outing in the mountains to pick them up or you just feel like it, get yourself a good amount of chestnuts, because they are never enough. Remember: whatever way you want to cook chestnuts, the first step is wash them under abundant running water to eliminate all impurities.

How to cook chestnuts in a pan
192316 "src =" https://www.salepepe.it/files/2021/10/padella-caldarroste-@salepepe.jpg "width =" 210
But where do you go if you don't have a perforated pan? Essential. So first get the traditional one perforated iron pan and heat it over very low heat. Meanwhile, with a very sharp knife, engrave horizontally the peel of the chestnuts taking care of Not also cut the fruit and put them in the pan. Raise the heat slightly and move the pan from time to time to roast them well. Once they are ready (it will take about 30 minutes) rub them with a clean cloth to remove the most scorched parts and keep them warm before serving. Obviously, you can cook chestnuts even without using the perforated pan. How to proceed? Place one flame spreaders on the fire and lean on one very large pan, let it heat up and roast the engraved chestnuts until they are well roasted!

How to cook chestnuts in the oven

If you decide to use this method you will need to first of all heat the oven to 180 degrees. The next step is to engrave the chestnuts horizontally and place them on the oven plate. When the oven has reached the temperature, bake and leave cook for about 30 minutes. Again, keep them warm before serving.

An advice: whether you decide to cook chestnuts in a pan or in the oven, remember to transfer them to a clean and slightly moistened cloth to keep them soft and prevent them from drying out in contact with the air.

Roasted chestnuts in salt cooked in a pan

Here, these are ours favorite. Here we find our beloved contrasts between the sweet chestnut and the more savory note given by the salt. Preparing them in this way is also very simple but, remember to use a large pan and above all not perforated. Pour 1 kilo of coarse salt into the bottom of the pan and arrange the previously cut chestnuts, cover with a lid and cook for about 30 minutes. Move the pan from time to time in circular motions; once ready, wrap them in a clean cloth and finally remove the excess salt and burnt parts. Eat them still hot!

Boiled chestnuts
First rule: the proportions. For 1 kilo of chestnuts it takes 3 liters of water. First of all, take a very large pot with high sides, put the chestnuts in it and pour in 3 liters of water. Depending on the use you will make of it, you can decide whether flavor them with a pinch of salt and a few bay leaves or leave them natural. From the moment the water begins to boil, calculate 40 minutes and drain. Now peel them and eat them as they are or use them to prepare roasts, side dishes, chestnuts, sweet chestnuts …
If you decide, instead, to cook them in pressure cooker, the procedure is the same but the cooking times change. In this case, calculate 20 minutes from the whistle, turn off the flame, let it breathe, open the pot and enjoy your chestnuts!

October 2021
Giulia Ferrari

Posted on 29/10/2021

Share


<! –

->


<! – 4 images or sliders < 460 -->

<! – / 4 images or sliders < 460 -->

Incoming search terms:

How to make caramel: instructions for use – Italian Cuisine

Pinterest


Pinterest


<! –

send by email

->

Blond, sweet or salty, inviting and enveloping. Caramel gives that extra touch to desserts, making them greedy and irresistible. But do you know how to make caramel correctly? It is not as difficult as it seems, preparing it is really simple and trust me, once you learn the few and simple rules to follow you will not be able to do without it. How to use it? To glaze desserts or to prepare a crunchy almond, to variegate an ice cream both in its savory version and in its sweet version, or to make popcorn more delicious. Obviously, there is no single version of caramel, there is traditional caramel, the one that resembles a toffee and then the salty one!

191364 "src =" https://www.salepepe.it/files/2021/09/caramello-@salepepe.jpg "width =" 231 "height =" 231 "style =" float: left;How to make caramel
Remember: the recipe for preparing the caramel will be the basis for preparing all the other versions… Easier that way! Now get to work and get these ingredients and tools: 250 g of sugar, a few drops of lemon juice and 2 tablespoons of water; the ideal tool is a small pot (preferably copper) with rounded edges or a classic pan. Do not use pans with vertical walls: the internal corner would risk burning the sugar and you would have to do it all over again!
Well, now that you have prepared everything you need, start by putting 2 tablespoons of sugar, water and a few drops of lemon juice in the pan or pan. The flame of the stove must be very low, the sugar must dissolve very gently and without burning. As soon as it has melted, add two more tablespoons, melt and continue adding 2 at a time until you have finished it. Gradually the caramel will take on a nice dark amber color turn off the heat. Done! Easy right? Now, your dry caramel can become the basis for preparing a tarte tatin, or for icing a vanilla ice cream. How to keep it? To keep it liquid, transfer it to a jar and place it in the refrigerator, it lasts up to 6 months.

Toffee-like caramel
This version of the caramel makes us feel a little like children, bringing us back to the moment when we unwrapped the beloved ones MOU candy! A full-bodied and dense sauce that at the sight recalls the dulce de leche. To prepare this variant you will need to add 250 ml of fresh cream for desserts to the basic recipe, it will be the cream that gives body to your preparation. Now that you have prepared the dry caramel, remove it from the heat and add 250 ml of cream a little at a time, stir with a spoon until the cream has completely blended. Return the saucepan to the flame (always very low) and stir again for a few moments to thicken the sauce. Toffee-like caramel is great for variegate And garnish ice cream, semifreddo, panne cotte and Bavarian cream. And the duration? Simple, this too can be stored for up to 6 months in the refrigerator.

Salted caramel
To prepare salted caramel, it is also necessary to start from the basics. Then, once the traditional caramel has been prepared, add 190 g of fresh liquid cream, 120 g of cold butter and 10 g of fine salt. Once the caramel is golden, remove it from the heat and unite the cold butter into chunks and gradually add the salt. Jumbled up with a whisk until the butter has melted. At this point add the hot cream and continue to mix with a whisk until you get a perfect soft and salty caramel! If you want a fluffier and softer caramel, you can add 1 teaspoon of baking soda at the end of cooking.

191363 "src =" https://www.salepepe.it/files/2021/09/popcorn-al-caramello-@salepepe.jpg "width =" 210 "style =" float: left;Salted caramel popcorn
Irresistible. A recipe of American import which over time (very little time) has also conquered our palates. Start preparing the popcorn by pouring a drizzle of oil into a large pot with high sides; pour in the grains and add a pinch of salt. Let them pop until they all open! Now, prepare the salted caramel, once it is ready do not remove it from the flame, add the popcorn and continue mixing, mixing them well with the caramel. Make sure they are all perfectly covered. Let them cool completely on a baking sheet lined with parchment paper.

Cinnamon flavored caramel
Spicy. It is ready in a few minutes, you will only need 250 ml of cream for desserts, 1 cinnamon stick and 100 g of sugar. First bring the cream to the boil with the vanilla pod, once it reaches a boil, turn off the heat and move the saucepan; leave the cream to infuse for about 30 minutes. At this point, prepare the caramel by melting the sugar. Done? Okay, now add the flavored cream (of course you will need to remove the cinnamon stick first). Keep stirring until the cream is completely blended with the caramel. Use it to fill or glaze cakes.

October 2021
Giulia Ferrari

Posted on 05/10/2021

Share


<! –

->


<! – 4 images or sliders < 460 -->

<! – / 4 images or sliders < 460 -->

Incoming search terms:

Mother yeast and homemade mother dough: instructions for use – Italian Cuisine

171535


We have heard about it for several years mother pasta, mother yeast and natural leavening. A healthy return to a food awareness that challenges us to bring back domestic practices of at least two, three generations ago.

It must first be said that the natural yeast, also called mother yeast or sourdough, is the result of a mixture of water and flour left to mature spontaneously in the environment for a certain period of time. The natural leavening is based on the fact that the micro-organisms present in the flour, water and air reproduce and ferment naturally. Behind this apparently very simple formula there is a real art, a knowledge and a small cultural heritage. So much so that for years now a Library of the Mother Yeast was born, in Belgium, in the wooded village of Saint Vith, where they keep a multitude of live bullets that need care and love and come from all over the world.

In a not too distant past, bread was prepared on average once a week, preserving the natural yeast at home, even if in some regions it could happen that an entire community did it and maybe only once a season, then cook it together in one shared oven, such as rye bread in South Tyrol, which each family kept high up in the barns, on typical wooden structures.

The tradition of many areas of the south, like the Puglia or the Basilicata, was to prepare bread and other baked goods in your home, and then be cooked in municipal or private ovens, paying an affordable price. A wooden stamp, with a symbol or an identifying letter, guaranteed the distinction of the bread of each family.

It is important to remember in DIY preparation refreshments, which consists in the addition of some basic ingredients in certain proportions and with a fixed time interval (usually 15 days).

171535Then there is the so-called starter, or an ingredient, not always present, that can accelerate the work of microorganisms and speed up the reproduction and fermentation of microorganisms. The solutions are many, but often the purists reject the idea of ​​the starter, precisely because the same trigger allows a safe fermentation.

171541
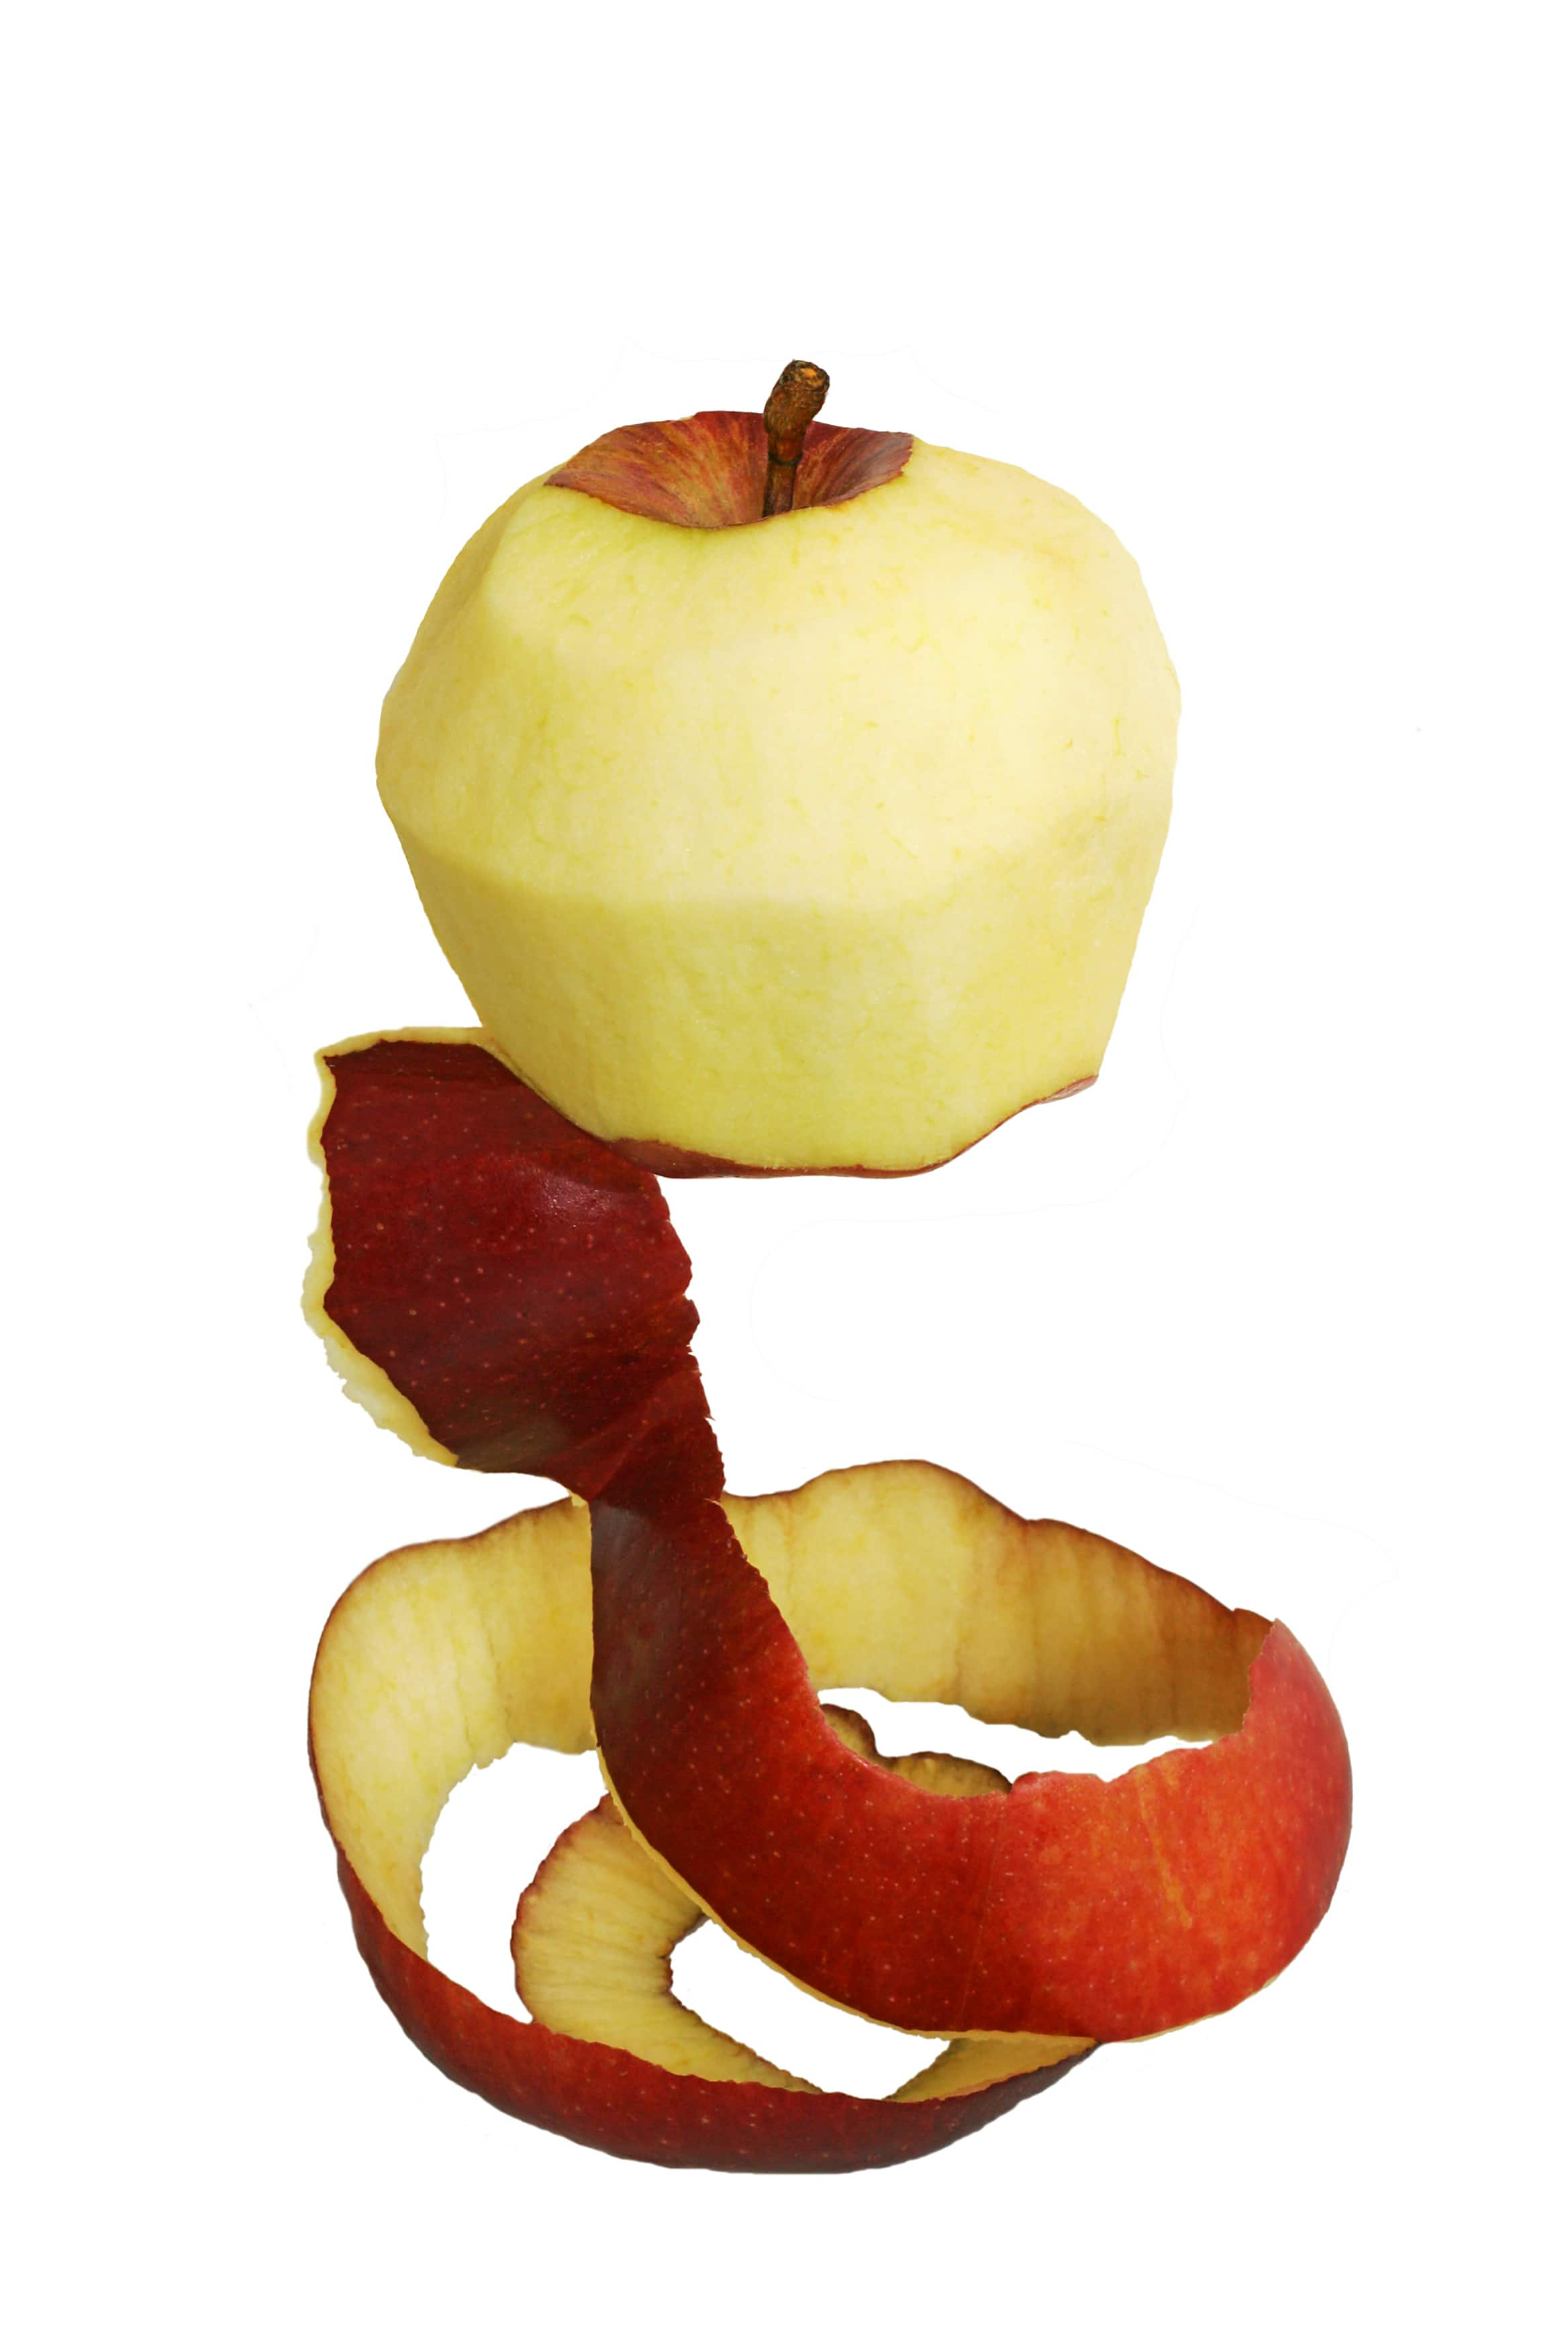
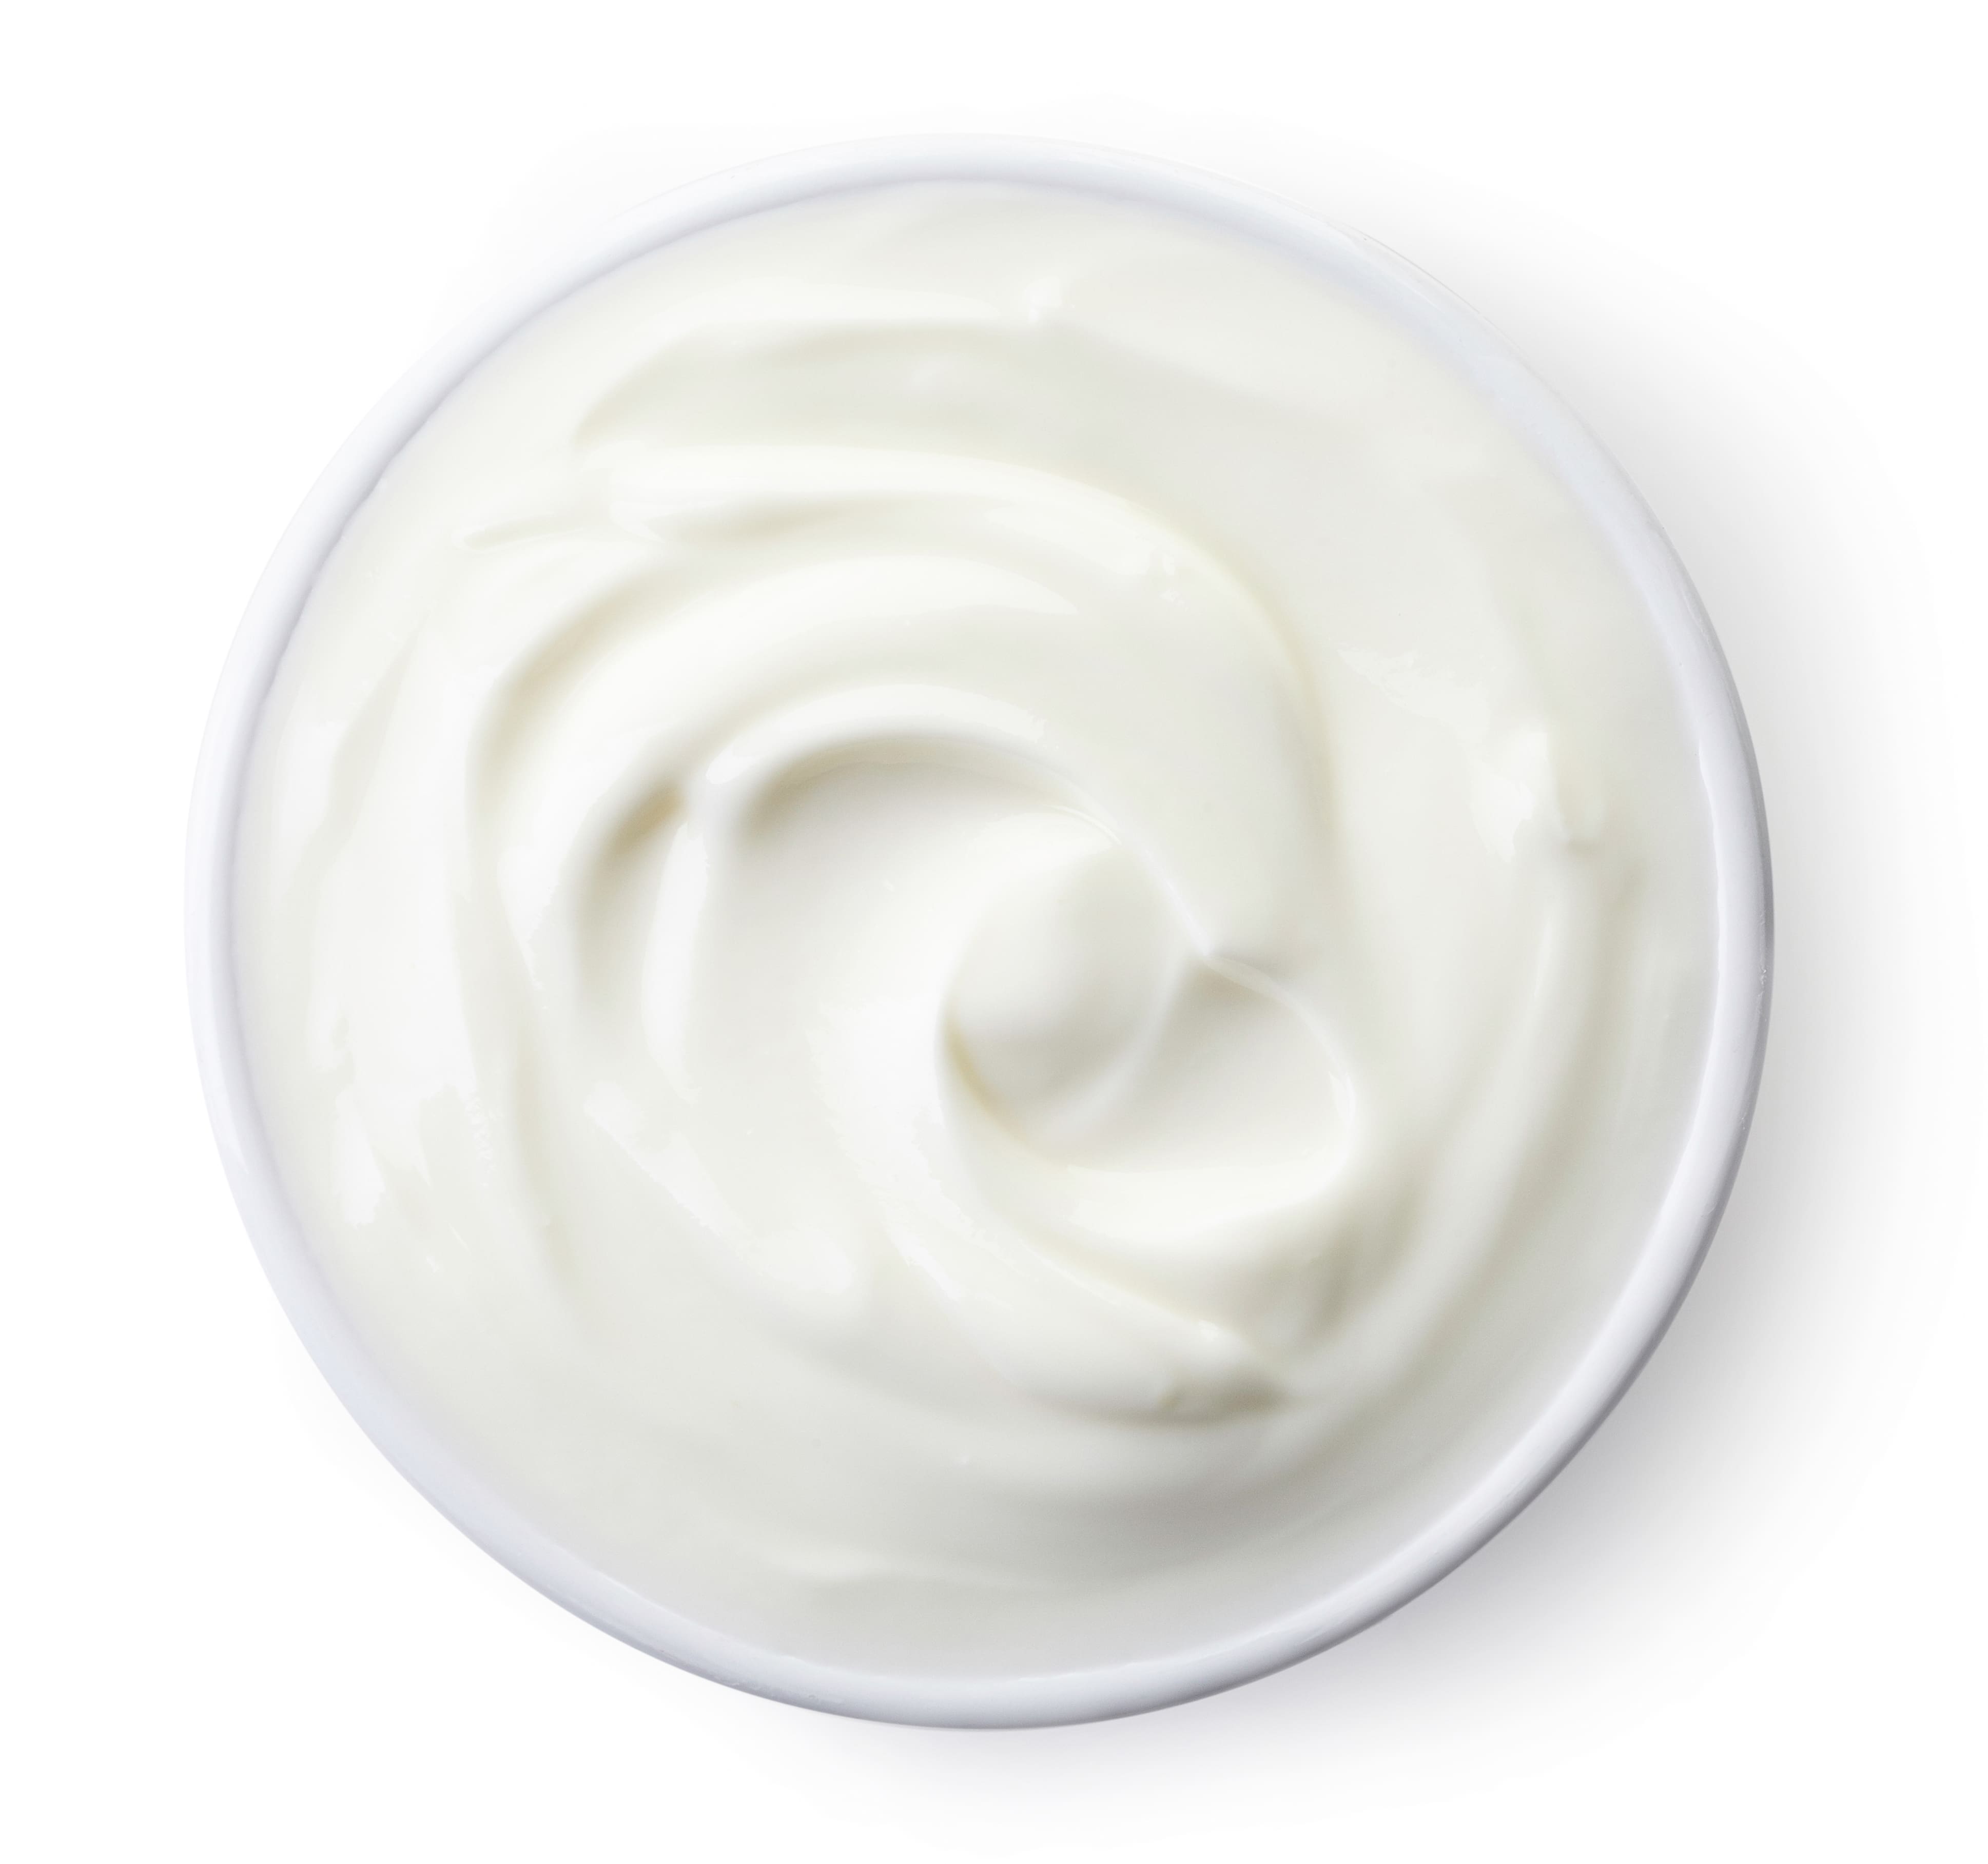
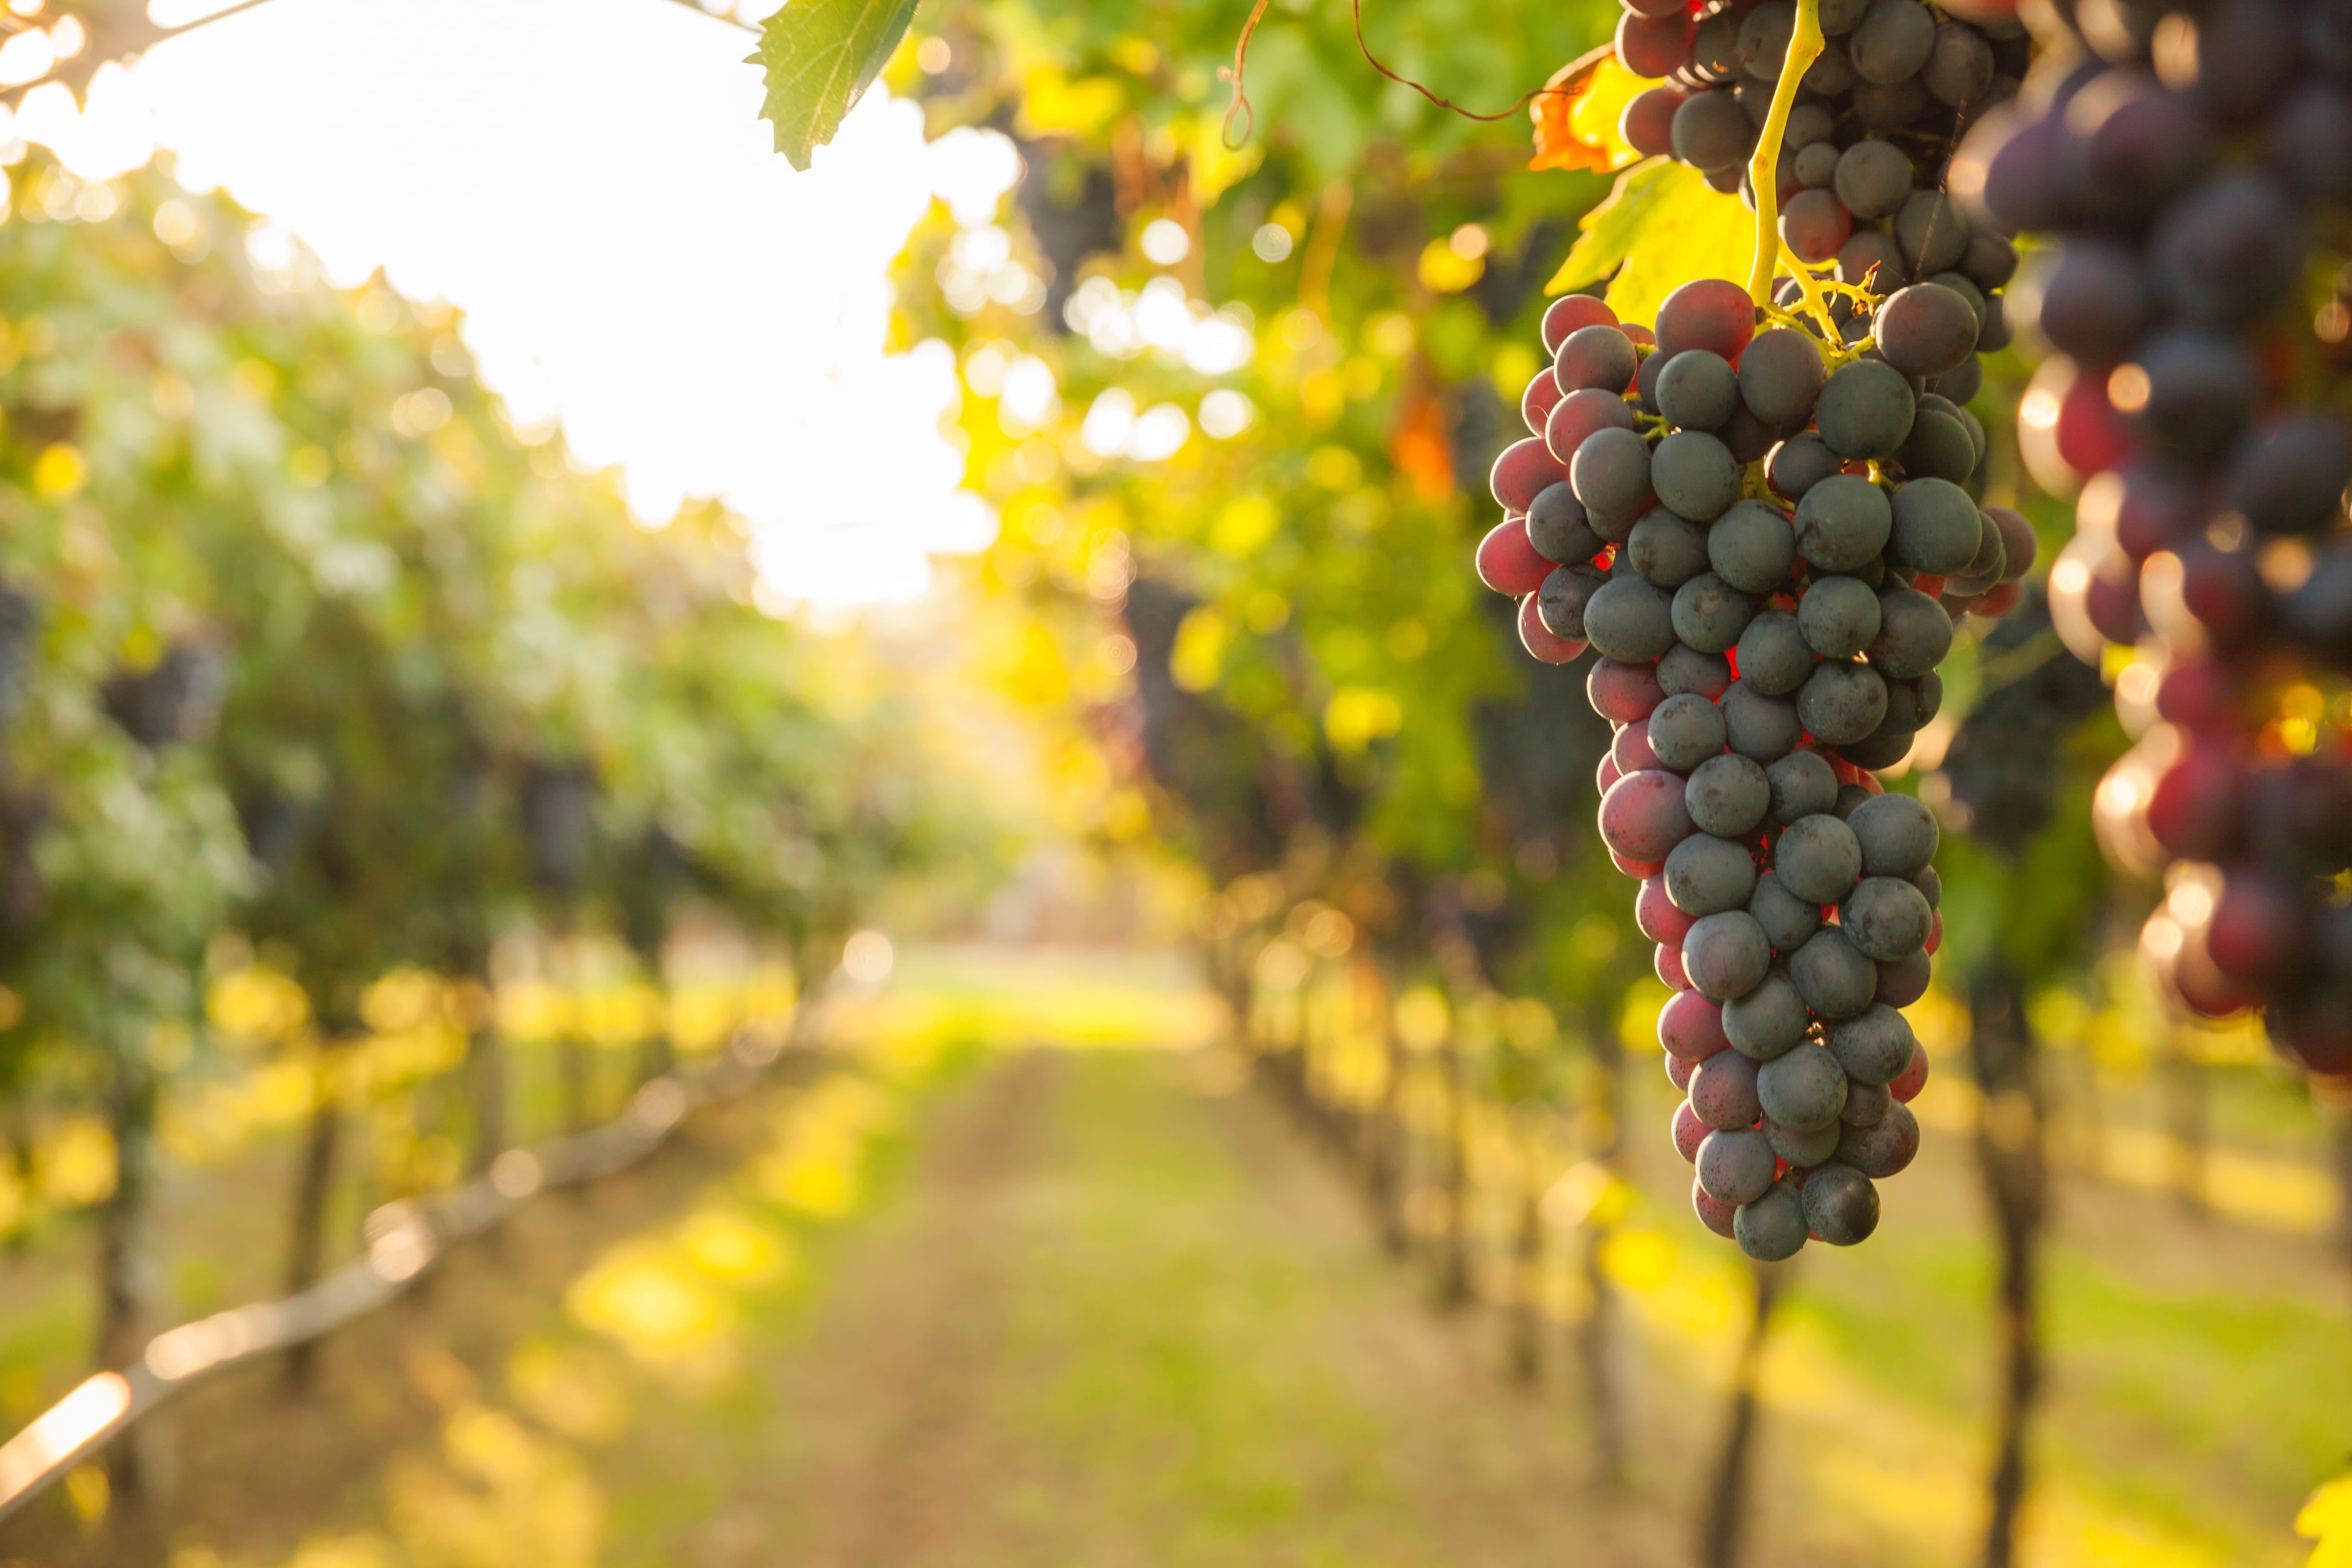
Fruit, yogurt, honey or simply peels: every chef and every common mortal has his secret.

Returning to today, natural leavening and sourdough have a strong appeal, which unfortunately is equal to the conviction of retaining it particularly hard to handle. We often hear that it is very delicate and that it can die at any moment, in truth it is really hard to turn off and, if it is not used professionally, it is much simpler than what is believed.

It is certainly good to know that what is the sourdough? also scientifically, but remember that most people who do not know how a machine technically works, still know how to drive it very well. In other words, using the sourdough does not mean that you have to learn all the scientific part (click here).

They will need more desire to experiment, a little patience or a good organization of the times. You will be repaid by a more digestible and healthy product, thanks to the flours that you can choose personally, which will last even a week, and with an oven smell that will bring you back in time. One thing is certain: that there is nothing like the smell of baked bread to make everyone smile again.

How to make pasta
It can be more liquid (licoli) or be a more consistent dough. The most consistent dough that I recommend, is more durable and durable.

171544Ingredients
100 grams of 0 organic flour. It is good to check the deadline, although it may last a year on the counters, in this case, it is better to use it as fresh as possible, or freshly ground.
60 gr of water
1 teaspoon of honey, or one of pear juice. It is simply used to speed up the fermentation times. Someone even puts yogurt on it.

Preparation
1) In a bowl mix with a spoon, until a smooth dough, then cover with a very damp kitchen towel, taking care to check that it does not dry in the following hours. Not being in a hurry is essential, let it pass 24/48 hours, during which you could already smell an acidic smell: it means that the lactic fermentation we are looking for has started.

2) Take back the dough and weigh it (about 150 grams). Place it in a larger bowl and add the same weight of flour and half of water. Cover it as you did in the previous step and let it rest for another twenty-four hours. This practice is called refreshment. (see video below)

3) If the dough has already captured the lactic bacteria from the environment you will finally see the slightly grown mass: leavening started, but if you want to consolidate it, repeat for a second time the refreshment as in the previous step, leaving it to rise up to almost double.

At this point, la sourdough is ready to make bread, and the best results will be at the maximum point of growth that will take place in a few hours. Subsequently the mother paste will decrease, slowly decreasing. Just keep it in the refrigerator to slow down this process, just after using half of the sourdough. You can reuse it once a day, and it will last for a week, after which you will have to proceed with another refreshment. It can also be frozon, taking care to defrost it in the refrigerator, bring it back to room temperature and do at least two refreshments before using it again.

How to find the sourdough
If you prefer to avoid producing it, you can ask for it in a bakery that also produces naturally leavened bread: you can refer to theFDP association which brings together industry professionals who have chosen to spread the use and consumption of naturally leavened bread, founded by Renato Bosco (click here).

On Facebook instead it is still in place map created by Riccardo Astolfi (click here) a historic community of "spacciatori" of sourdough to which you can refer.

Basic recipe for bread:
The advice is to start with the simplest recipe.
500 gr of organic flour 0
300 gr of water
100/150 gr of fresh and "mature" sourdough (never exceed 30% of the quantity of flour, to avoid a too sour taste)
1 teaspoon of fine salt

Optionally, but not essential, 1 teaspoon of honey or malt (is easily found in stores of organic products) that will speed up the process of rising, add fragrance and give a darker crust and more crisp.

Preparation:
In a large bowl, arrange the sourdough and water, honey or malt. Melt the sourdough well. Add the flour, salt and knead directly into the bowl for the first few minutes, and until a smooth and smooth dough is obtained. Then move on a work table and knead with a little more force, rolling out and rewinding the dough for a few minutes more. Well, considering that the more air engulfs the mass, the leavening will be better.

Put the dough back in the bowl and cover it with food wrap. Let the dough rise for three to six hours, or until it is doubled.

Take back the dough and put it in shape: at the beginning it is preferable to choose a round shape, then you can try the strands, the sandwiches, the braids and much more.

Dust the surface with a little 'flour and gently cut with a saw blade or very sharp, taking care not to "tear" the shape: it will allow the dough to grow more easily.
Cover with a sheet of baking paper a low and wide pan, lay down the form and cover with a dry and clean cloth. To avoid drying the dough during the second leavening, place the food foil over the cloth, without closing it, just placing it gently. An hour or two after the dough will be visibly leavened and you can bake it.

The oven must already be hot at a temperature of 250 ° and, to obtain a better result, moisture must be added to the inside. A simple little bowl with water will be enough to evaporate during cooking. Cook 10 minutes at 250 ° and another 30 minutes at 200 ° / 220 °.

If by chance the crust does not convince, and appears too soft, allow the form to cool and then return to the oven at 200 ° for another 10/15 minutes.

Now you just have to try and if you still have any doubt, you can deepen by reading the book "Pasta Madre" by Riccardo Astolfi.

of Paola Sucato
updated by Emanuela Di Pasqua
March 2019

In the video below you can see the sourdough

Proudly powered by WordPress

By continuing to use the site, you agree to the use of cookies. Click here to read more information about data collection for ads personalisation

The cookie settings on this website are set to "allow cookies" to give you the best browsing experience possible. If you continue to use this website without changing your cookie settings or you click "Accept" below then you are consenting to this.

Read more about data collection for ads personalisation our in our Cookies Policy page

Close