1st day (Sunday)
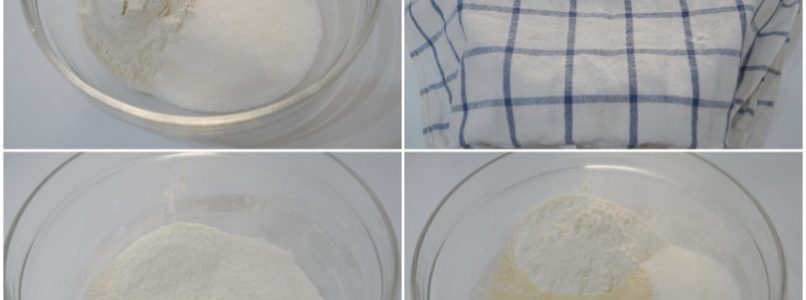
Put in a bowl (not plastic, I recommend, then glass, wood or steel) put in the bowl 1 glass of flour and 1 of sugar without mixing.
(If someone gave you the mixture, pour it in the bowl before adding sugar and flour … I didn't have it and therefore I started from scratch).
Cover the bowl with a clean tea towel and set aside (not in the fridge, at room temperature).
2nd day (Monday)
Take back the bowl, mix the powders with a spoon (no plastic, remember, so I opted for the wood), cover the bowl again with the tea towel and set aside again at room temperature.
3rd and 4th day (Tuesday and Wednesday)
You don't have to do anything, always leave the bowl at room temperature well covered under its tea towel.
5th day (Thursday)
Add 1 glass of flour, 1 glass of sugar and 1 of water to the bowl, but do not mix.
Cover again with the cloth and keep aside (always out of the fridge).
6th day (Friday)
Stir with a wooden spoon, then cover and leave at room temperature.
7th, 8th and 9th day (Saturday, Sunday and Monday)
Again you don't have to do anything, leave the bowl covered at room temperature without touching the dough.
10th day (Tuesday)
Mix with a wooden spoon, then remove 3 glasses of compost that you can donate to whoever you want.
Add all the remaining ingredients to the remaining dough: 2 glasses of flour, 1 glass of sugar, 1 glass of seed oil, chopped walnuts, chopped chocolate, raisins previously kept for 10 minutes in hot water and then gently squeezed, eggs, cinnamon and baking powder.
Although I followed everything literally, my final compound was too thick, so I added a little bit of additional water to make it more fluid and of the right consistency.
Pour the mixture into a baking tray lined with parchment paper, make the 3 wishes and cook for about 40 minutes at 180 ° C in an already hot ventilated source (if you wish, you can ask the saint a prayer during cooking).
Padre Pio's cake is ready, you just have to let it cool before cutting it and finally have the pleasure of tasting it!

This recipe has already been read 759 times!